It’s always a good idea to lock your computer when you are leaving it alone because it has a lot of data that you may not want others to see. While there are a lot of methods to lock your Windows 10 system instantly, pressing Windows Key + L allows you to do it instantly. However, users can also create a shortcut that allows them to lock their PC and it can come in handy for the users who usually lock their PC from the start menu because it can save them a few clicks. Hence in this guide, we are going to see How to lock your Windows 10 PC using a shortcut. Without waiting further, let’s get started.

How to lock your Windows 10 PC using a shortcut
Step 1: Head to your desktop and right-click on a blank space. Once the context menu pops up, select the “New” option.
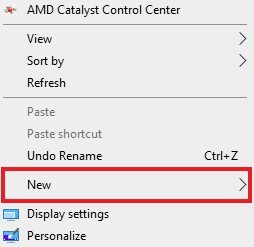
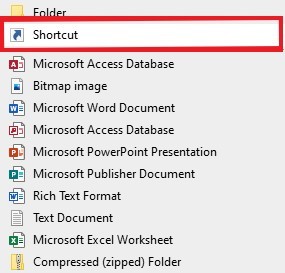
Step 2: Once you’ve selected the “New” option from the list a new secondary drop-down menu will pop up. Select “Shortcut” from the secondary drop-down menu to continue with the process.
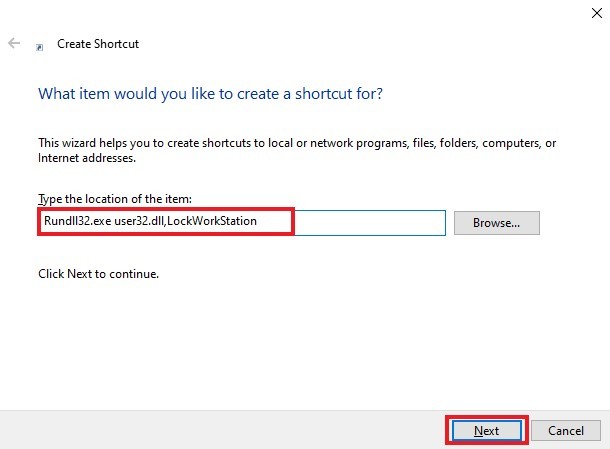
Step 3: A new Create Shortcut window will open once you’ve selected the shortcut from the drop-down menu. Copy the below location and paste it in the “type the location of the item” textbox.
Rundll32.exe user32.dll,LockWorkStation
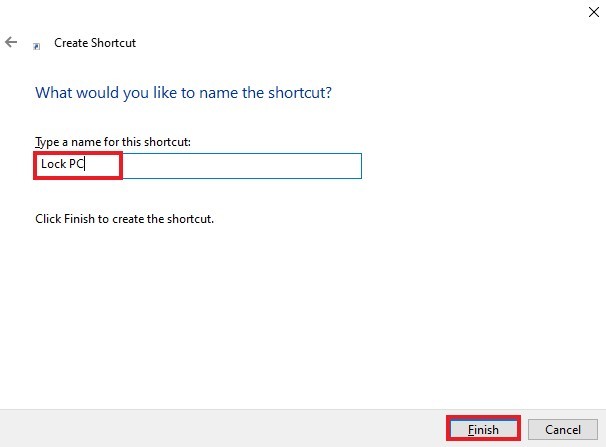
Step 4: In the next step you just have to give your shortcut a name. You can name it anything however since this shortcut is made to Lock your Windows 10 system we are going with “Lock PC” as the name. Once you’ve named the shortcut press “Finish” and a shortcut to lock your PC will be created on your Windows 10 desktop.
That’s it. You’ll now be able to lock your PC by running the shortcut you’ve created. If you liked this guide, then don’t forget to share it using the social media buttons.
